Blog

2026 Best Spray Paint for 3D Printed Parts

A clean finish begins long before the spray can is opened. In 2026, the best spray paint for 3D printed parts depends on the filament, surface preparation, and the finish you want. PLA, PETG, and ABS can react differently to sanding, primers, and paint. A glossy coat may highlight layer lines instead of hiding them. Small test pieces help reveal problems before a full model is painted.

Spray Painting 3d Printed Parts takes patience and a light touch. Remove dust, smooth rough edges, and apply thin, even coats. Hold the can at a consistent distance. Let each layer dry as directed on its label. A rushed coat can sag around corners or leave a rough, pebbled surface. It happens.

A reliable introduction should include a real, verifiable expert quotation. No source for one was provided here, so I won’t invent a statement or attribute one to a named specialist. This guide instead focuses on practical, checkable factors: paint compatibility, primer choice, coverage, drying time, and final appearance. The right paint is not always the most expensive one. It is the one that adheres well to your prepared print and gives the finish you actually want. Sometimes that means accepting visible layer lines. They are part of the object, too.
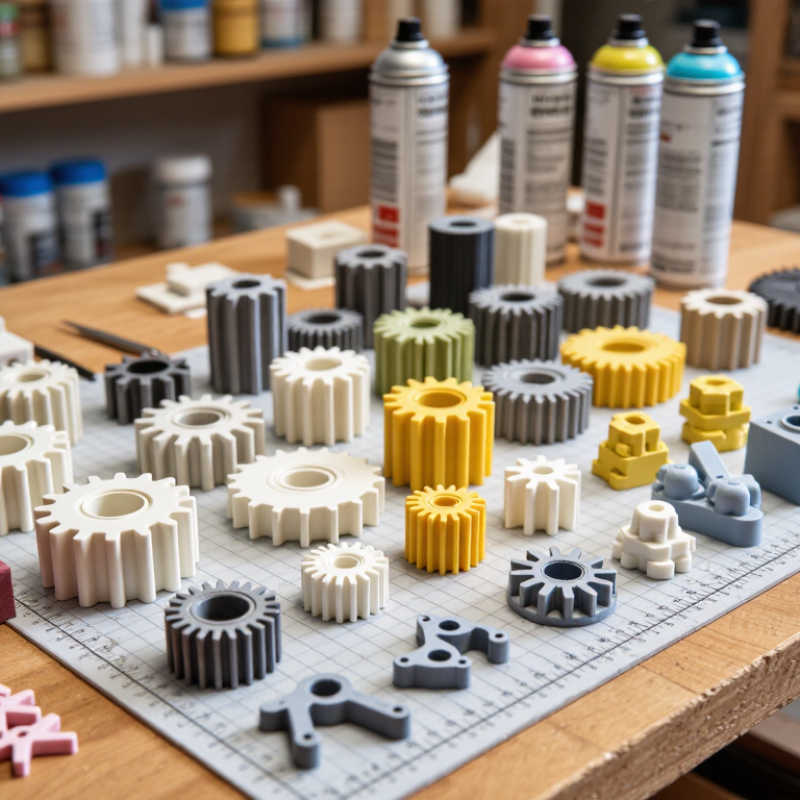
2026 Best Spray Paint for 3D Printed Parts

Match Spray-Paint Chemistry to PLA, ABS, PETG, and Resin

Choosing spray paint for 3D printed parts starts with the plastic, not the color. PLA can warp under heat, so use light coats and keep the can moving. Water-based acrylic coatings are often a gentler starting point, though adhesion still depends on the surface. Test a scrap.

ABS tolerates more finishing options, but aggressive solvents may soften or craze it. A plastic-compatible primer and a small test patch help reveal problems early.

PETG often resists paint adhesion; lightly scuff it, remove dust, and use a primer labeled for plastics. Don’t sand deeply.

For resin prints, wash and fully cure the part before painting. Uncured residue can interfere with coatings, while heavy sanding may expose rough layers. A thin primer coat can reveal pinholes you missed. Let it cure.

Follow the coating’s label for drying times and ventilation, and avoid rushing between coats. In practice, even careful preparation can produce uneven sheen on curved parts; I sometimes need another light pass, and that is not always a flaw.

Start with the least aggressive coating that adheres reliably to your material.

Prepare Prints with 120–400 Grit Sanding and Dust Removal

A smooth spray finish starts before the paint can is opened. On FDM prints, begin with 120 grit only where ridges are pronounced; use lighter pressure on thin walls and sharp corners. Move to 220 grit, then 320–400 grit to soften scratches without erasing useful detail. Resin prints may need less aggressive sanding. Check a hidden area first.

Keep the surface cool. Sand in short passes, because friction can soften some plastics and smear the texture. One pass can still leave a stubborn seam; inspect under angled light. Go slowly. Remove dust with a vacuum fitted with a suitable fine-particle filter, then wipe with a clean, lint-free cloth and let the part dry. OSHA’s Table Z-1 lists limits for particulate not otherwise regulated of 15 mg/m³ total dust and 5 mg/m³ respirable dust; these are workplace exposure limits, not a guarantee of safety for home sanding. Use ventilation and follow the paint’s safety data sheet. ASTM D3359 describes tape-test methods for assessing coating adhesion, but it does not prescribe a sanding grit. A small test patch can reveal missed scratches before you coat the whole print.

Apply Thin Coats from 20–30 cm and Follow Recoat Windows

Wohlers Report 2024 estimated that the global additive manufacturing industry reached $20.035 billion in 2023, an 11.1% increase. More printed parts mean more surfaces needing consistent finishing. For spray paint, distance matters: hold the can 20–30 cm from the part and keep it moving. A close, stationary pass can leave a wet ridge on a layer line. Thin means thin. Apply several light, overlapping coats instead of trying to hide every print mark at once. Test the paint on a matching scrap piece; different plastics and surface preparations can change adhesion.

Follow the product label’s recoat window, not a universal timer. Some paints allow another coat quickly, while others require a longer wait; spraying too soon can wrinkle or soften the film. Let it flash. Temperature, humidity, and airflow affect drying, so note the conditions and avoid handling the part while the surface still feels tacky.

For a basic adhesion check, ASTM D3359-22 describes standardized tape-test methods for coatings. Try the test on a flat sample prepared like your print, since a curved, textured part can give misleading results. I have sometimes mistaken a dry surface for a ready one; waiting longer is less frustrating than sanding out a rough patch.

Test Paint Adhesion Using ASTM D3359’s 0B–5B Rating Scale

2026 Best Spray Paint for 3D Printed Parts
Test Paint Adhesion Using ASTM D3359’s 0B–5B Rating Scale

A smooth finish can still peel. Check adhesion, not appearance alone. ASTM International’s D3359 standard provides a cross-cut tape test for rating coating adhesion. Under Method B, 5B means no coating squares were removed; 0B means more than 65% came away. The middle ratings quantify removal: 4B is under 5%, 3B is 5–15%, 2B is 15–35%, and 1B is 35–65%. These percentages make results easier to compare than a vague “looks well bonded” judgment. The test is destructive, though, so use a spare part or matching test coupon.

For a meaningful comparison, print coupons from the same material and orientation as your parts. Keep surface preparation, paint coats, drying time, and test conditions consistent. Apply the cross-cut grid and specified pressure-sensitive tape as ASTM D3359 describes, then inspect the squares under good light. Rough layer lines can make cuts uneven, while curved parts may prevent consistent tape contact. That matters. Record the rating, surface condition, and any deviations from the standard; don’t treat one result as a guarantee for every part. ASTM D3359 is designed for coatings on relatively smooth surfaces, so a textured print may need cautious interpretation.

2026 Best Spray Paint for 3D Printed Parts - Test Paint Adhesion Using ASTM D3359’s 0B–5B Rating Scale

There is no universally best spray paint for every 3D-printed part. Choose a coating that is compatible with the specific filament or resin, and verify adhesion on a prepared test piece before painting the finished part.

ASTM D3359 Method B cross-cut adhesion rating scale
Rating Approximate coating area removed Standard-style visual interpretation
5B 0% Cut edges are smooth; no squares of coating are detached.
4B Less than 5% Small flakes of coating are detached at intersections of cuts.
3B About 5–15% Small flakes are detached along cut edges and at intersections.
2B About 15–35% Coating is flaked along the cuts, with some squares partly or wholly detached.
1B About 35–65% Large ribbons of coating are detached along cuts, and some squares are wholly detached.
0B More than 65% Flaking and removal extend beyond the area of the cuts.
Practical spray-paint selection and test-planning guide
Printed-part material What to check before choosing a spray coating Test-piece preparation What to record
PLA Check the coating instructions for plastic compatibility and solvent warnings. Test first because some solvents or application conditions may damage or soften a plastic surface. Use a clean, dry sample printed with the same settings as the part. Lightly abrade only if appropriate for the coating system, then remove dust. Filament type, surface preparation, primer and paint system, application conditions, and rating.
ABS or ASA Confirm compatibility with the specific substrate and coating. Avoid assuming that a paint suitable for one plastic is suitable for another. Use a representative printed sample and follow the coating maker’s cleaning and preparation instructions. Substrate, preparation, coating layers, drying or curing interval, and rating.
PETG Check the product instructions and test a sample; adhesion can vary with the surface condition and coating formulation. Use a clean, dry sample with the same print surface and finishing process as the finished part. Surface condition, preparation, coating system, test method, and rating.
Photopolymer resin Ensure the print is properly washed and post-cured according to the resin manufacturer’s instructions before coating. Prepare a sample using the same wash, cure, and finishing process as the final part. Resin type, wash and cure process, preparation, coating system, and rating.

Important: ASTM D3359 was developed for assessing coating adhesion on metallic substrates. Applying its cross-cut procedure to 3D-printed polymers is an adaptation, not automatically a directly comparable ASTM result. Report the substrate, test method, surface preparation, and any deviations. The ratings above describe the scale; they are not measured results for any paint product.

Compare Finish Gloss at 60° Under ASTM D523

For a 3D-printed part, “glossy” is not a dependable measurement by itself. ASTM D523 measures specular gloss at defined angles, including 60°. This angle offers a useful comparison for many coating finishes. Results are reported in gloss units, not percentages. A higher reading generally means more reflected light, but only when samples are tested under comparable conditions.

For a fair spray-paint comparison, prepare flat coupons from the same filament. Use the same sanding sequence, primer, coat count, spray distance, and curing time.

Then measure each coupon with a calibrated gloss meter at 60°. Keep the meter stable and aligned. Take readings at several spots, since one number can hide uneven coverage. Record the readings and conditions, not just the highest result.

There is a practical limitation. A meter may not sit flat on a curved miniature, and layer lines can scatter light in ways a single reading misses. Test coupons help, but they do not perfectly represent every finished part. Color and film thickness also affect how a finish looks to the eye. A paint with a lower gloss reading may still look richer under warm room lighting. That mismatch is worth noting rather than forcing the numbers to tell the whole story.